

How To Install Varnish Cache
Varnish Cache (unremarkably known equally Varnish), is an open up-source, pop reverse-proxy HTTP accelerator intended for speeding upwards web servers. It is engineered for excessively utilized API endpoints and too for dynamic sites that serve massive-content and experience high-traffic.
It basically helps to scale downward CPU load; supports load balancing on web servers and enables a web browser to speedily load sites equally a result of storing the cache in RAM. A number of big companies use information technology including Facebook, Twitter, and Wikipedia just to mention merely a few.
Requirements
- A CentOS 7 with Apache installed
- A CentOS vii with a static IP address
In this commodity, I will explicate how to install and employ Varnish Cache 6.5 equally a forepart-end to an Apache web server in CentOS seven (also works on RHEL 7).
Step 1: Install Apache Spider web Server on CentOS 7
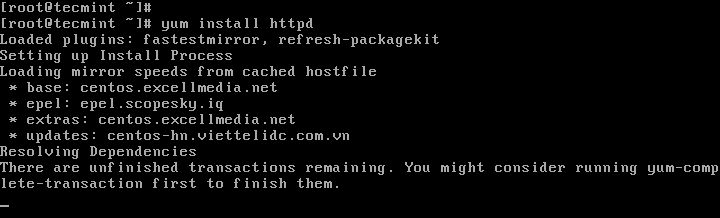
1. First install Apache HTTP server from the default CentOS software repositories using the YUM package manager as follows.
# yum install httpd
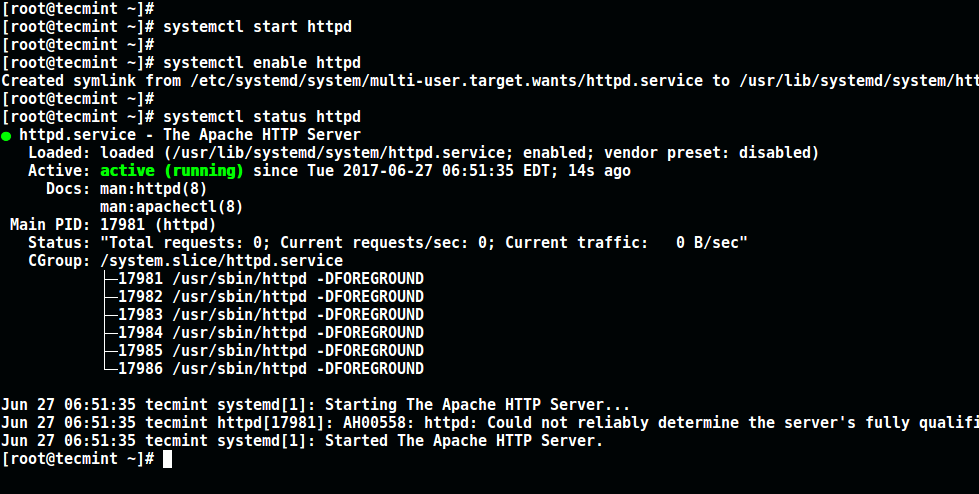
2. Once Apache installed, start it for the fourth dimension existence and enable it to start automatically at system kick.
# systemctl kickoff httpd # systemctl enable httpd # systemctl status httpd
3. Next update organisation firewall rules to let inbound packets on port lxxx using the commands below.
# firewall-cmd --zone=public --permanent --add together-service=http # firewall-cmd --reload

Step 2: Install Varnish Cache on CentOS 7
4. Now there are pre-compiled RPM packages for the latest version of Varnish Cache six (i.e vi.v at the time of writing), therefore y'all need to add the official Varnish Cache repository.
Before that, you demand to enable the EPEL repository to install several dependency packages as shown.
# yum install -y epel-release
5. Next, install pygpgme, a package for handling GPG signatures and yum-utils, a collection of useful utilities that extend yum'south native features in various ways.
# yum install pygpgme yum-utils
6. At present create a file named /etc/yum.repos.d/varnishcache_varnish65.repo that contains the repository configuration below.
# vi /etc/yum.repos.d/varnishcache_varnish65.repo
Important: Make sure to supersede el and 7 in the config below with your Linux distribution and version:
[varnishcache_varnish65] name=varnishcache_varnish65 baseurl=https://packagecloud.io/varnishcache/varnish65/el/7/$basearch repo_gpgcheck=one gpgcheck=0 enabled=i gpgkey=https://packagecloud.io/varnishcache/varnish65/gpgkey sslverify=1 sslcacert=/etc/pki/tls/certs/ca-parcel.crt metadata_expire=300 [varnishcache_varnish65-source] name=varnishcache_varnish65-source baseurl=https://packagecloud.io/varnishcache/varnish65/el/7/SRPMS repo_gpgcheck=1 gpgcheck=0 enabled=1 gpgkey=https://packagecloud.io/varnishcache/varnish65/gpgkey sslverify=ane sslcacert=/etc/pki/tls/certs/ca-bundle.crt metadata_expire=300
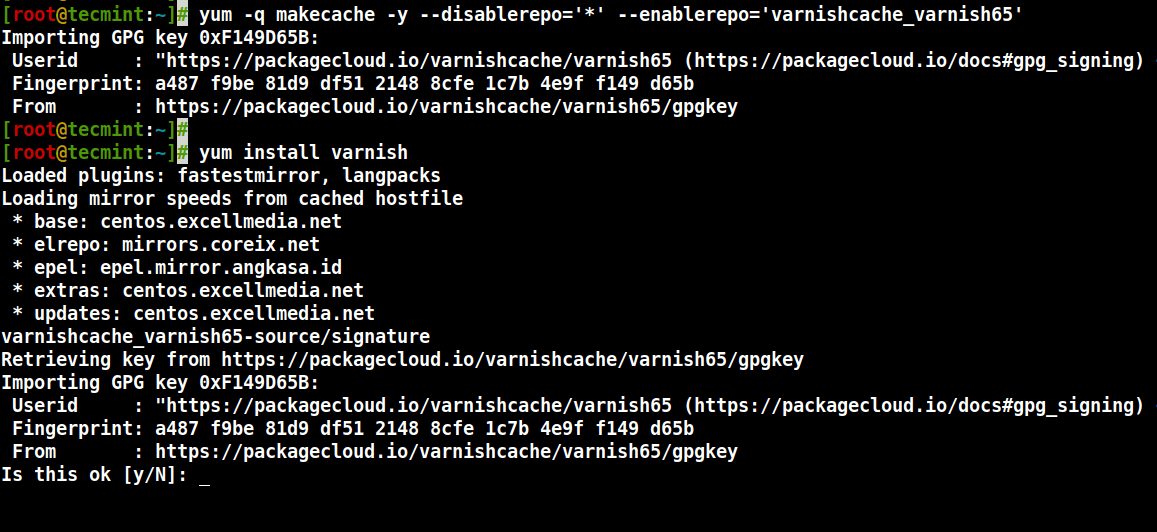
7. Now run the control below to update your local yum cache and install the varnish cache packet (do non forget to have the GPG key by typing y or aye while installing the parcel):
# yum -q makecache -y --disablerepo='*' --enablerepo='varnishcache_varnish65' # yum install varnish
8. After installing Varnish Cache, the principal executable will be installed every bit /usr/sbin/varnishd and varnish configuration files are located in /etc/varnish/:
- /etc/varnish/default.vcl – this is the main varnish configuration file, it is written using vanish configuration language (VCL).
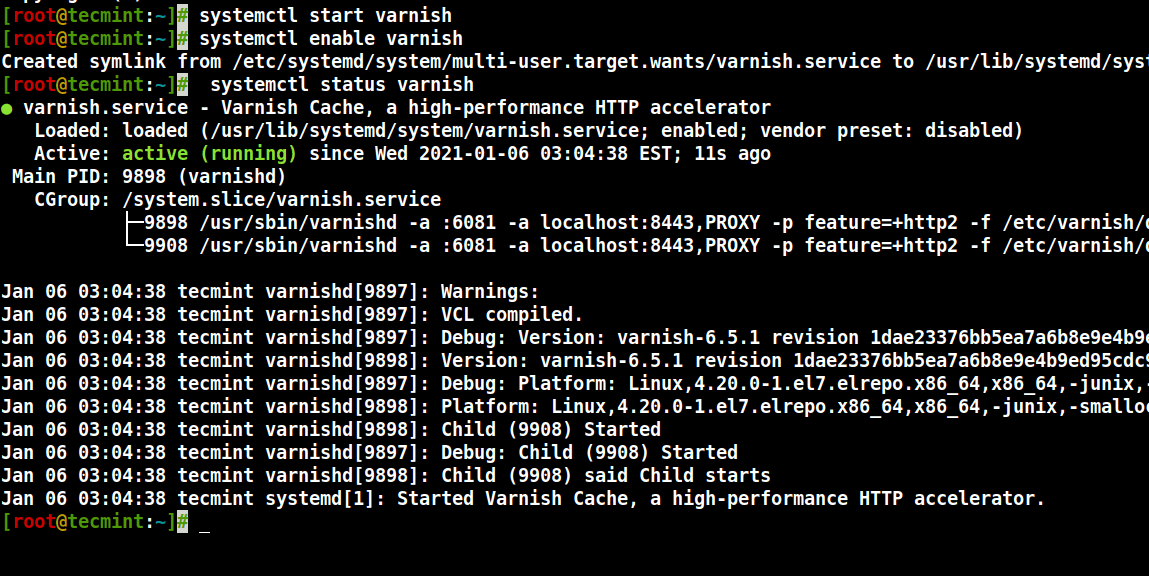
9. Now kickoff the varnish service, enable information technology to automatically start during system boot, and verify its status to ensure that it is up and running as follows.
# systemctl start varnish # systemctl enable varnish # systemctl status varnish
10. You can confirm that the Varnish installation was successful by seeing the location of the Varnish executable and version installed on your system.
$ which varnishd $ varnishd -V
Sample Output
varnishd (varnish-vi.5.1 revision 1dae23376bb5ea7a6b8e9e4b9ed95cdc9469fb64) Copyright (c) 2006 Verdens Gang AS Copyright (c) 2006-2020 Varnish Software
Step 3: Configure Apache to Piece of work With Varnish Cache
11. At present configure Apache to piece of work in conjunction with Varnish Cache. By default Apache listens on port lxxx, you demand to change the default HTTPD port to 8080 – this will ensure that HTTPD runs behind Varnish caching.
You can use the sed command to alter port eighty to 8080 as shown.
# sed -i "s/Listen 80/Mind 8080/" /etc/httpd/conf/httpd.conf
Annotation: Also, you demand to alter the port on your virtual host configuration for each website that you desire to serve via Varnish. Here is the configuration for our test site (/etc/httpd/conf.d/tecmint.lan.conf).
<VirtualHost *:8080> DocumentRoot "/var/www/html/tecmint.lan/" ServerName www.tecmint.lan # Other directives here </VirtualHost>
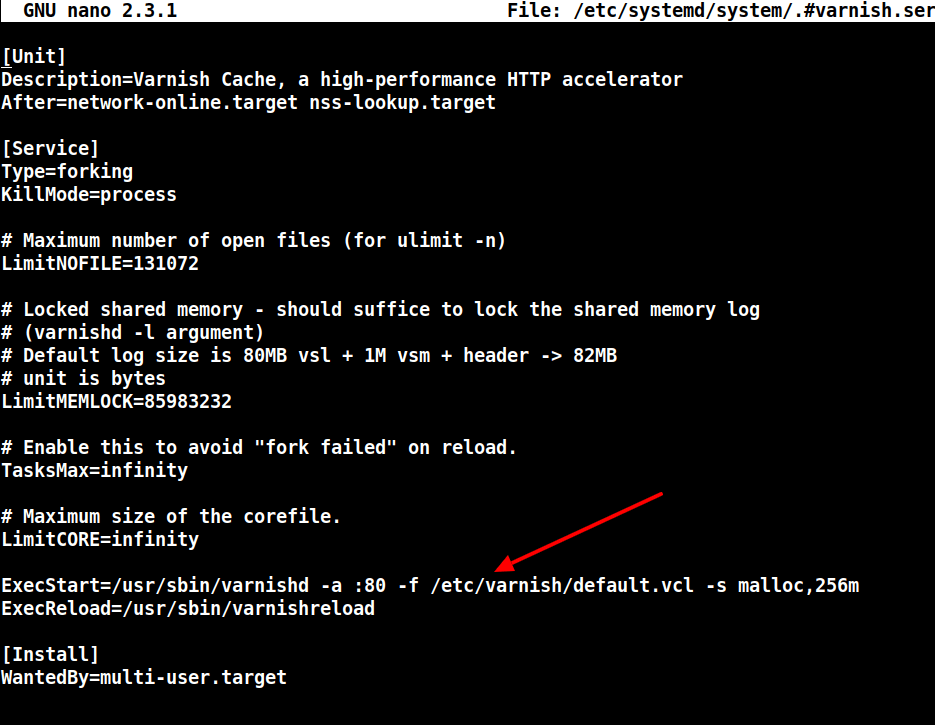
12. Next, open the varnish systemd configuration file and find the parameter ExecStart which specifies the port Varnish listens on, and change its value from 6081 to eighty as shown in the screenshot.
# systemctl edit --full varnish
The configuration should expect like this when finished.
ExecStart=/usr/sbin/varnishd -a :80 -f /etc/varnish/default.vcl -s malloc,256m
thirteen. Next, ready up Apache as a backend server for Varnish proxy, in the /etc/varnish/default.vcl configuration file.
# vi /etc/varnish/default.vcl
Observe the backend section, and define the host IP and port. Below is the default backend configuration, gear up this to indicate to your bodily content server.
backend default { .host = "127.0.0.i"; .port = "8080"; } If your backend server is running on a different server with address 10.42.1.10, then the host parameter should indicate to this IP address.
backend server1 { .host = "10.42.ane.10"; .port = "8080"; } fourteen. Subsequently performing all the necessary configurations, restart HTTPD and Varnish cache to effect the above changes.
# systemctl daemon-reload # systemctl restart httpd # systemctl restart varnish
Footstep 4: Test Varnish Cache on Apache
15. Lastly, examination, if Varnish is enabled and working with the HTTPD service using the curl command below, which tin exist used to view the HTTP header.
# curl -I http://localhost
Sample Output
HTTP/ane.one 200 OK Appointment: Wed, 06 Jan 2022 08:36:07 GMT Server: Apache/2.4.6 (CentOS) Last-Modified: Thu, xvi Oct 2022 xiii:twenty:58 GMT ETag: "1321-5058a1e728280" Accept-Ranges: bytes Content-Length: 4897 Content-Type: text/html; charset=UTF-8 Ten-Varnish: 131085 Age: 0 Via: i.1 varnish (Varnish/6.5) Connection: continue-live
For more than information, bank check out Varnish Cache Github Repository: https://github.com/varnishcache/varnish-cache
In this tutorial, we explained how to setup Varnish Enshroud 6.5 proxy for Apache HTTP server on CentOS seven. In case yous have any queries or additional ideas to share, use the feedback form beneath to write dorsum to us.
If Y'all Appreciate What We Do Hither On TecMint, You Should Consider:
TecMint is the fastest growing and most trusted community site for any kind of Linux Manufactures, Guides and Books on the spider web. Millions of people visit TecMint! to search or browse the thousands of published articles available FREELY to all.
If you similar what yous are reading, please consider buying usa a coffee ( or ii ) as a token of appreciation.

We are thankful for your never catastrophe support.

Source: https://www.tecmint.com/install-varnish-cache-on-centos-7-for-apache/
Posted by: edwardsretiould.blogspot.com
0 Response to "How To Install Varnish Cache"
Post a Comment